Icons
Rosamine’s GM has a good sense of humor, so Rosamine chooses a different icon to end with in each of her reports. This time she wants a little piggy bank icon. To do this, she puts her cursor where she wants the icon to go, clicks on the Insert tab, and selects the Icon button. After scrolling down, she finds the piggy bank icon, selects it, and clicks the Insert button.
![]()
![]()
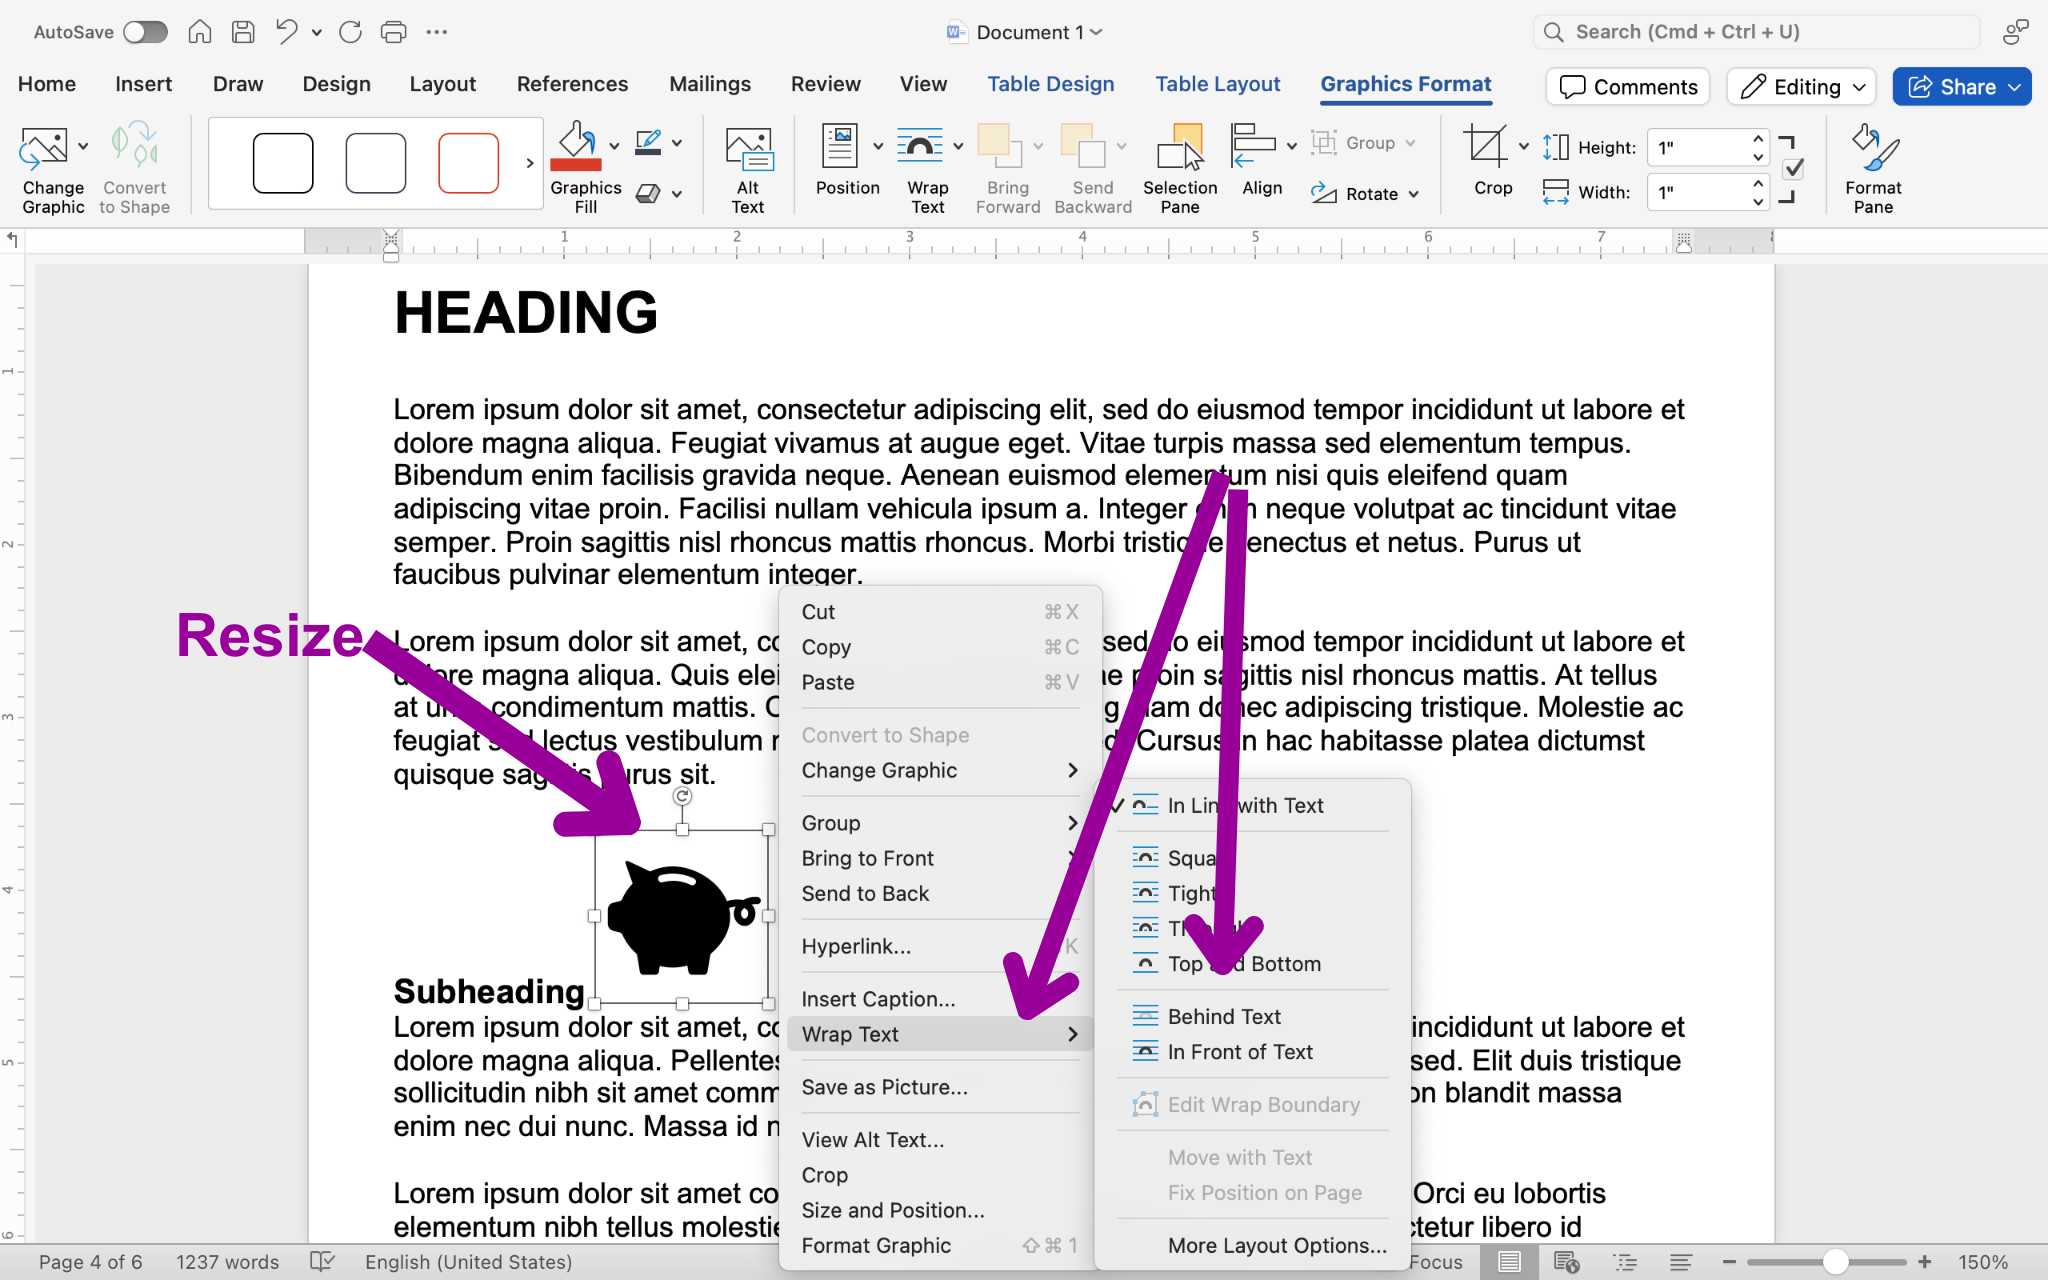
The little piggy is now in the document but needs a bit of adjusting. Like she can with the table and chart, Rosamine can drag the little image circle boarder to make the icon smaller. She also selects the button to have the icon move behind the text.

![]()
Now the little piggy bank is in place, and Rosamine has finished her report. She makes sure to save her file where she can easily find it again and emails it to her General Manager. Well done, Rosamine!